Wednesday, June 28, 2023

What’s the point. Part 3.

I couldn’t leave my proof of concept work unpainted for long. A quick spray with a Tamiya Dull Red and a light earth from a couple of rattle cans then a little ballast between the track and there you go. A quite acceptable piece of work.


Tuesday, June 27, 2023

What's the point. Part 2.

 Nice and recovered after my marathon I felt ready to finish off the turnout. The onerous task facing me was the spiking of the rails. 
Some people like spiking rail, some don't. I've not decided where I sit in the two camps. I don't particularly enjoy the task. It's something I have to be in the mood to do. But it's pretty much the only way to do what I want to get the effect I'm after. Out came my spikes and spiking tool  and away I went.
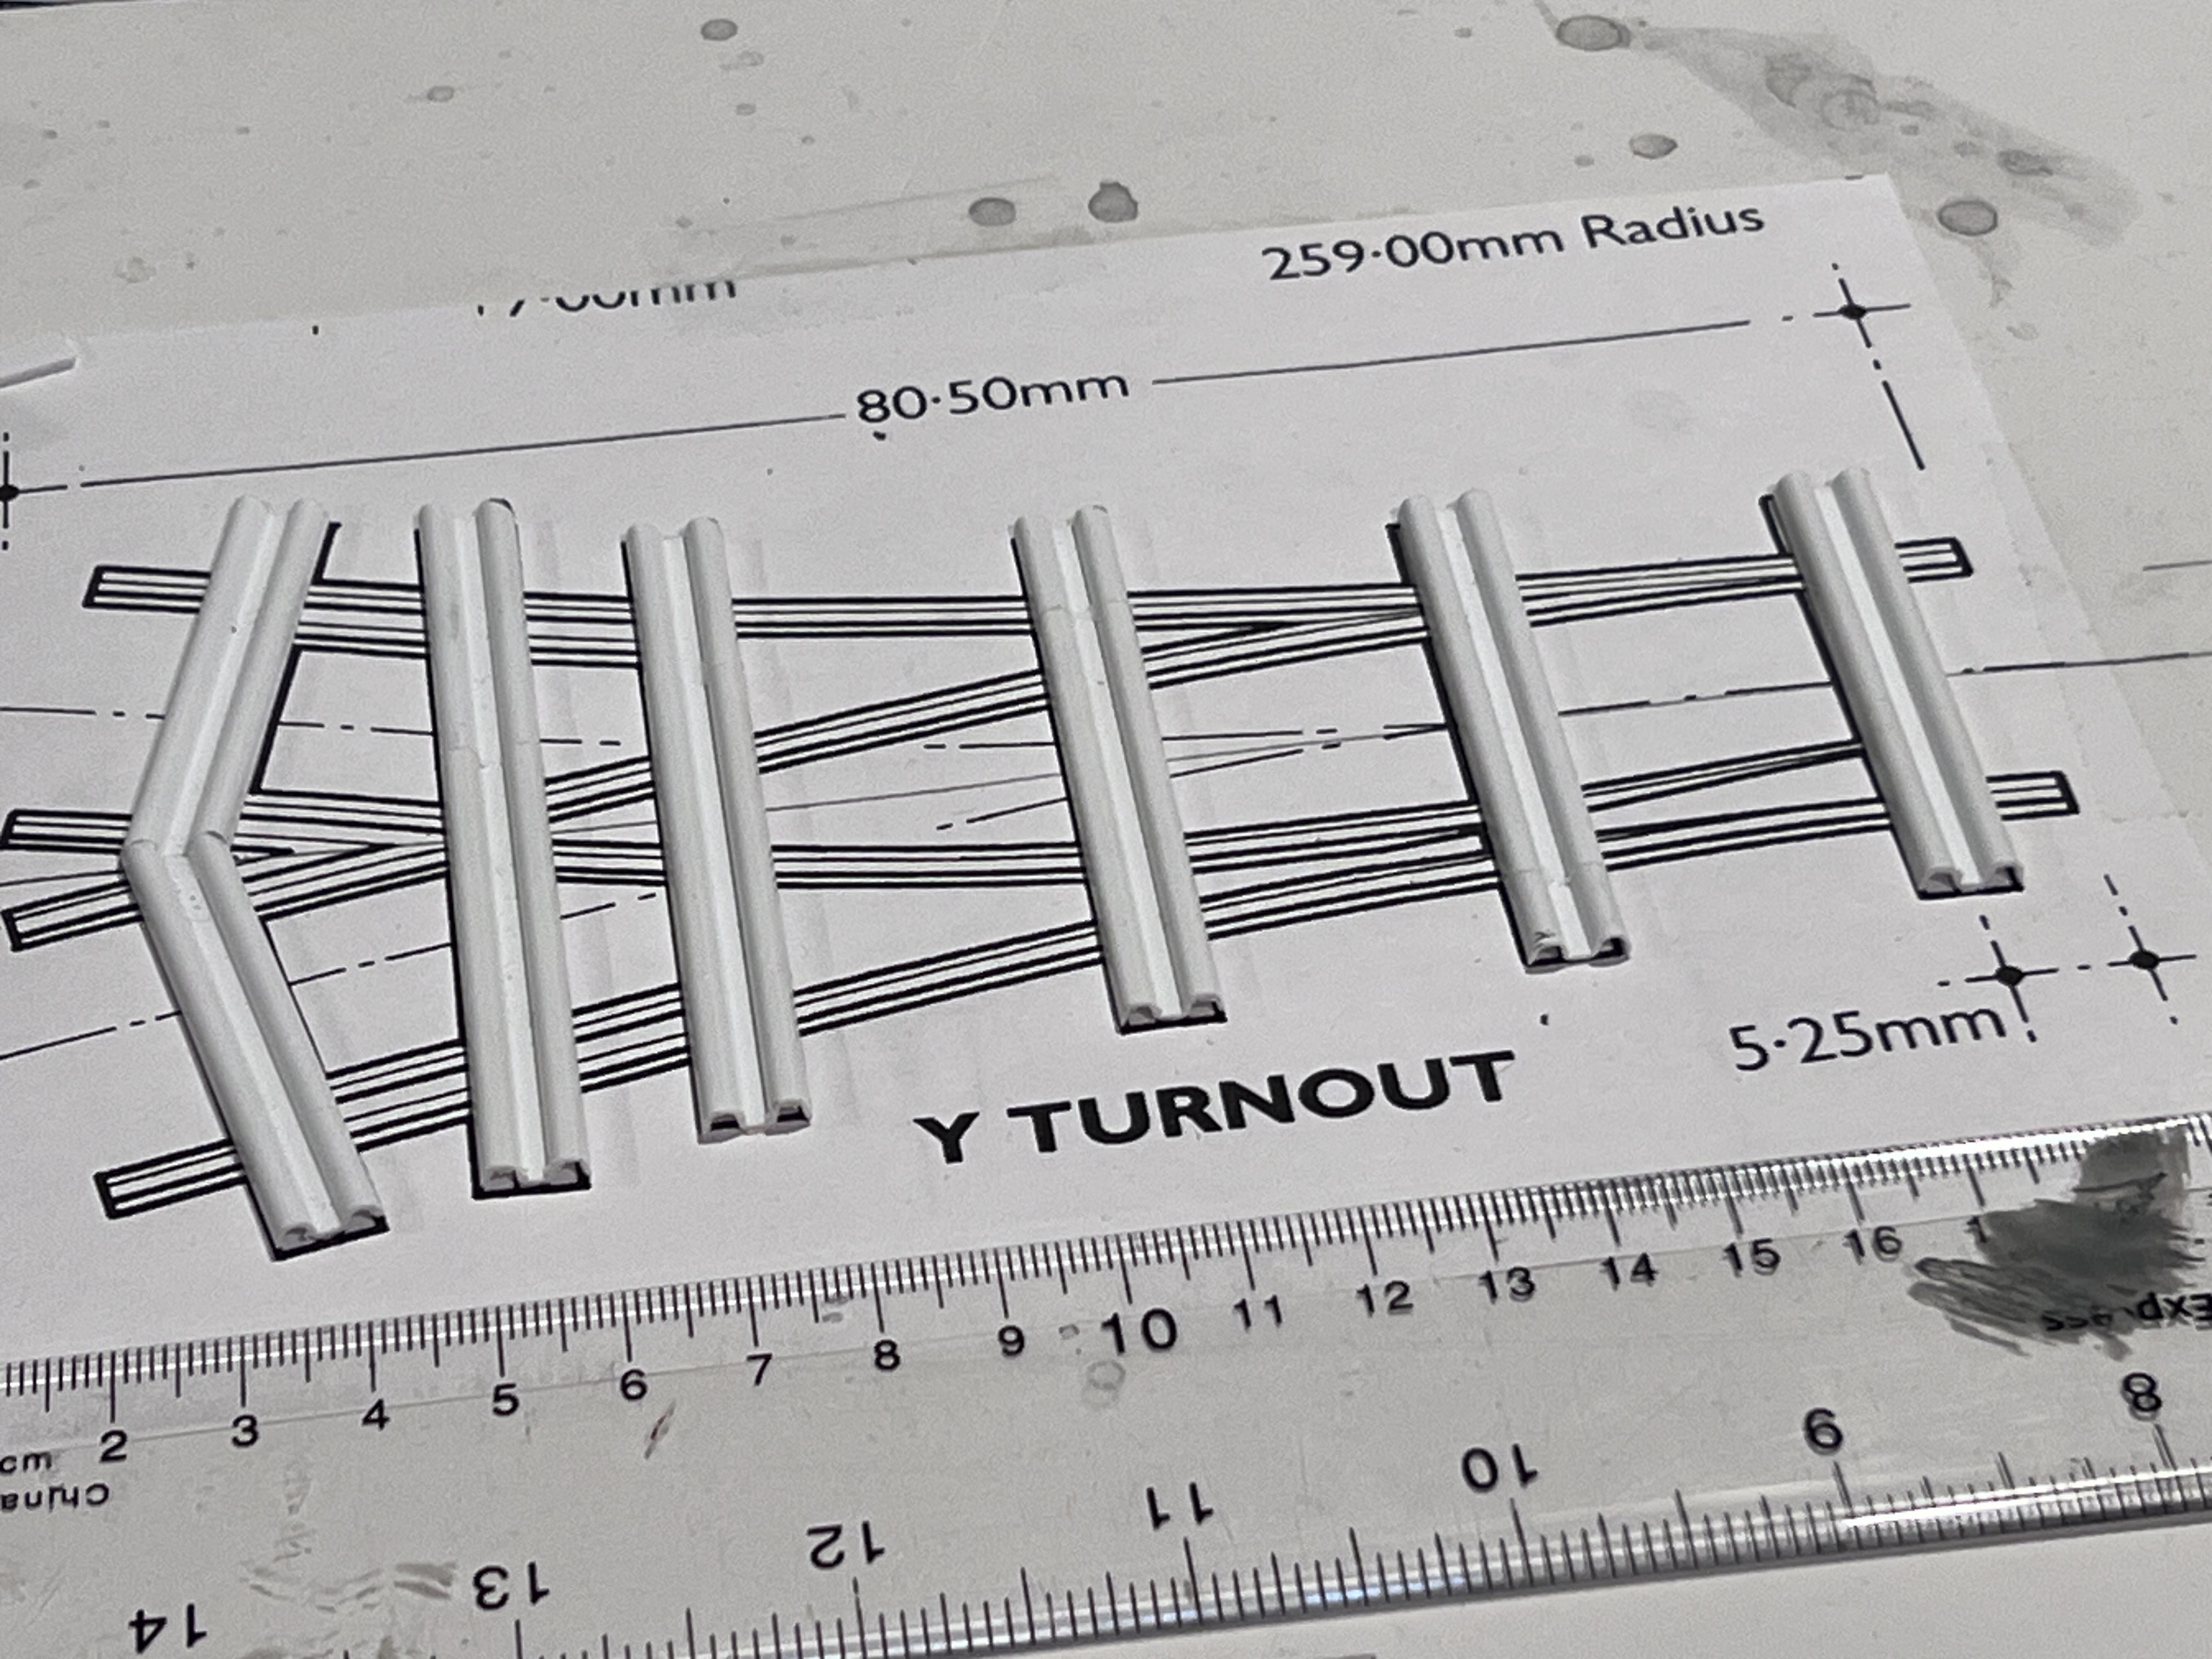
All the parts ready to go. The rail is code 148. That's a LOT of rail to cut and file away to make blades and vees. That took quite some time, and all the while I was fettling them. Filing a bit here and there to make the blades fit as I assembled the track.

I started at the vee. I really should have modelled the turnout with a crossing reinforcement plate. As it would supply some support to the vee. It could have been superglues to the plate, along with parts of the wing rails, should I make another. 

The blades, a lot of filing to be done on these to get them to fit. A tie bar system will have to be devised.

Done. For now. It needs a reliable pivot system for the blades and a tie bar. There's no doubt that it looks the part. But all the filing and spiking. It's just something I need to be in the mood for.

A vee skip chassis will navigate the turnout carefully

A last look at the project.
There we are then. I'll probably call this one good and give it a rusty paint job, like I did my original section of track, and put it on a shelf and look at it. Like I say, I don't know if I'll make one for a layout. I find spiking quite tedious and the filing of the rails hard work. Even with a Dremel to help things along. People with a proper workshop would be able to mill the correct profiles for the blades and vee in an instant.
Don't get me wrong, I feel great about the achievement. Perhaps I'll change my mind at some point. 


What’s the point part 1

Over the past month or so, I have been working on something pretty important as I think about extending the original micro layout. 
I’ve been building a turnout. You’ll all be familiar with my method of building plain track using Plastruct embossed corrugated sheet. I needed to know if this construction method would work for turnouts. I know there’s lots of people 3D printing turnouts, and I may well go that way. But first I have to know if my method of track building would work. 
I decided to build a Y turnout from the drawing in the late Roy Link’s Industrial narrow gauge handbook.
I enlarged the drawing to size and got to work. I shall try not to bore you with a ‘How I blew my nose” approach to describing the work. Just list the significant steps. Suffice to say the method of building turnouts is little different whatever scale or track you use.

The template from the Roy Link handbook, blown up  and taped on a board. During an earlier rush of blood to the head, I had cut all my embossed styrene into sleeper lengths. In order to get the correct length sleepers I had to glue them together. Each butt joint was reinforced with styrene strip in the channels.

A lot of people asked me about my railbender. This is it. I found it on eBay from a seller called harrgar52. It looks to be an adaptation of the tool for removing watch backs, that has been described in the model railway press in the past.

Stage 1. Cut all the sections of rail to size. I made multiple easy passes through the railbender in order to get the curvature correct. The rail came from some sections of Atlas O scale 2 rail track. I think that makes it code 148. 
A simple jig was needed for the crossing vee. Just a couple of pieces of wood set to the correct angle. Filing the rails to the correct angle of the vee, gave me a good idea of how much rail would have to be removed for the blades. A lot.

Then I had to leave the project for a couple of weeks as I prepared to run my 24th marathon.


*Fy Merlen Bach*

Winter is coming…The phrase that spawned hundreds of cringeworthy internet memes. To me it means that any model making I do will be confined...