Friday, September 29, 2023

95%

Not much left to do

Is the layout 95% complete? 99% perhaps? I don’t know. All I know is that there’s pretty not much left to do. I sit in front of the layout and loose myself in it. Trains running or not. 
As you know, in the past few days, I was very frustrated with the tipper actuation rail. So I worked on other things to take my mind off it.
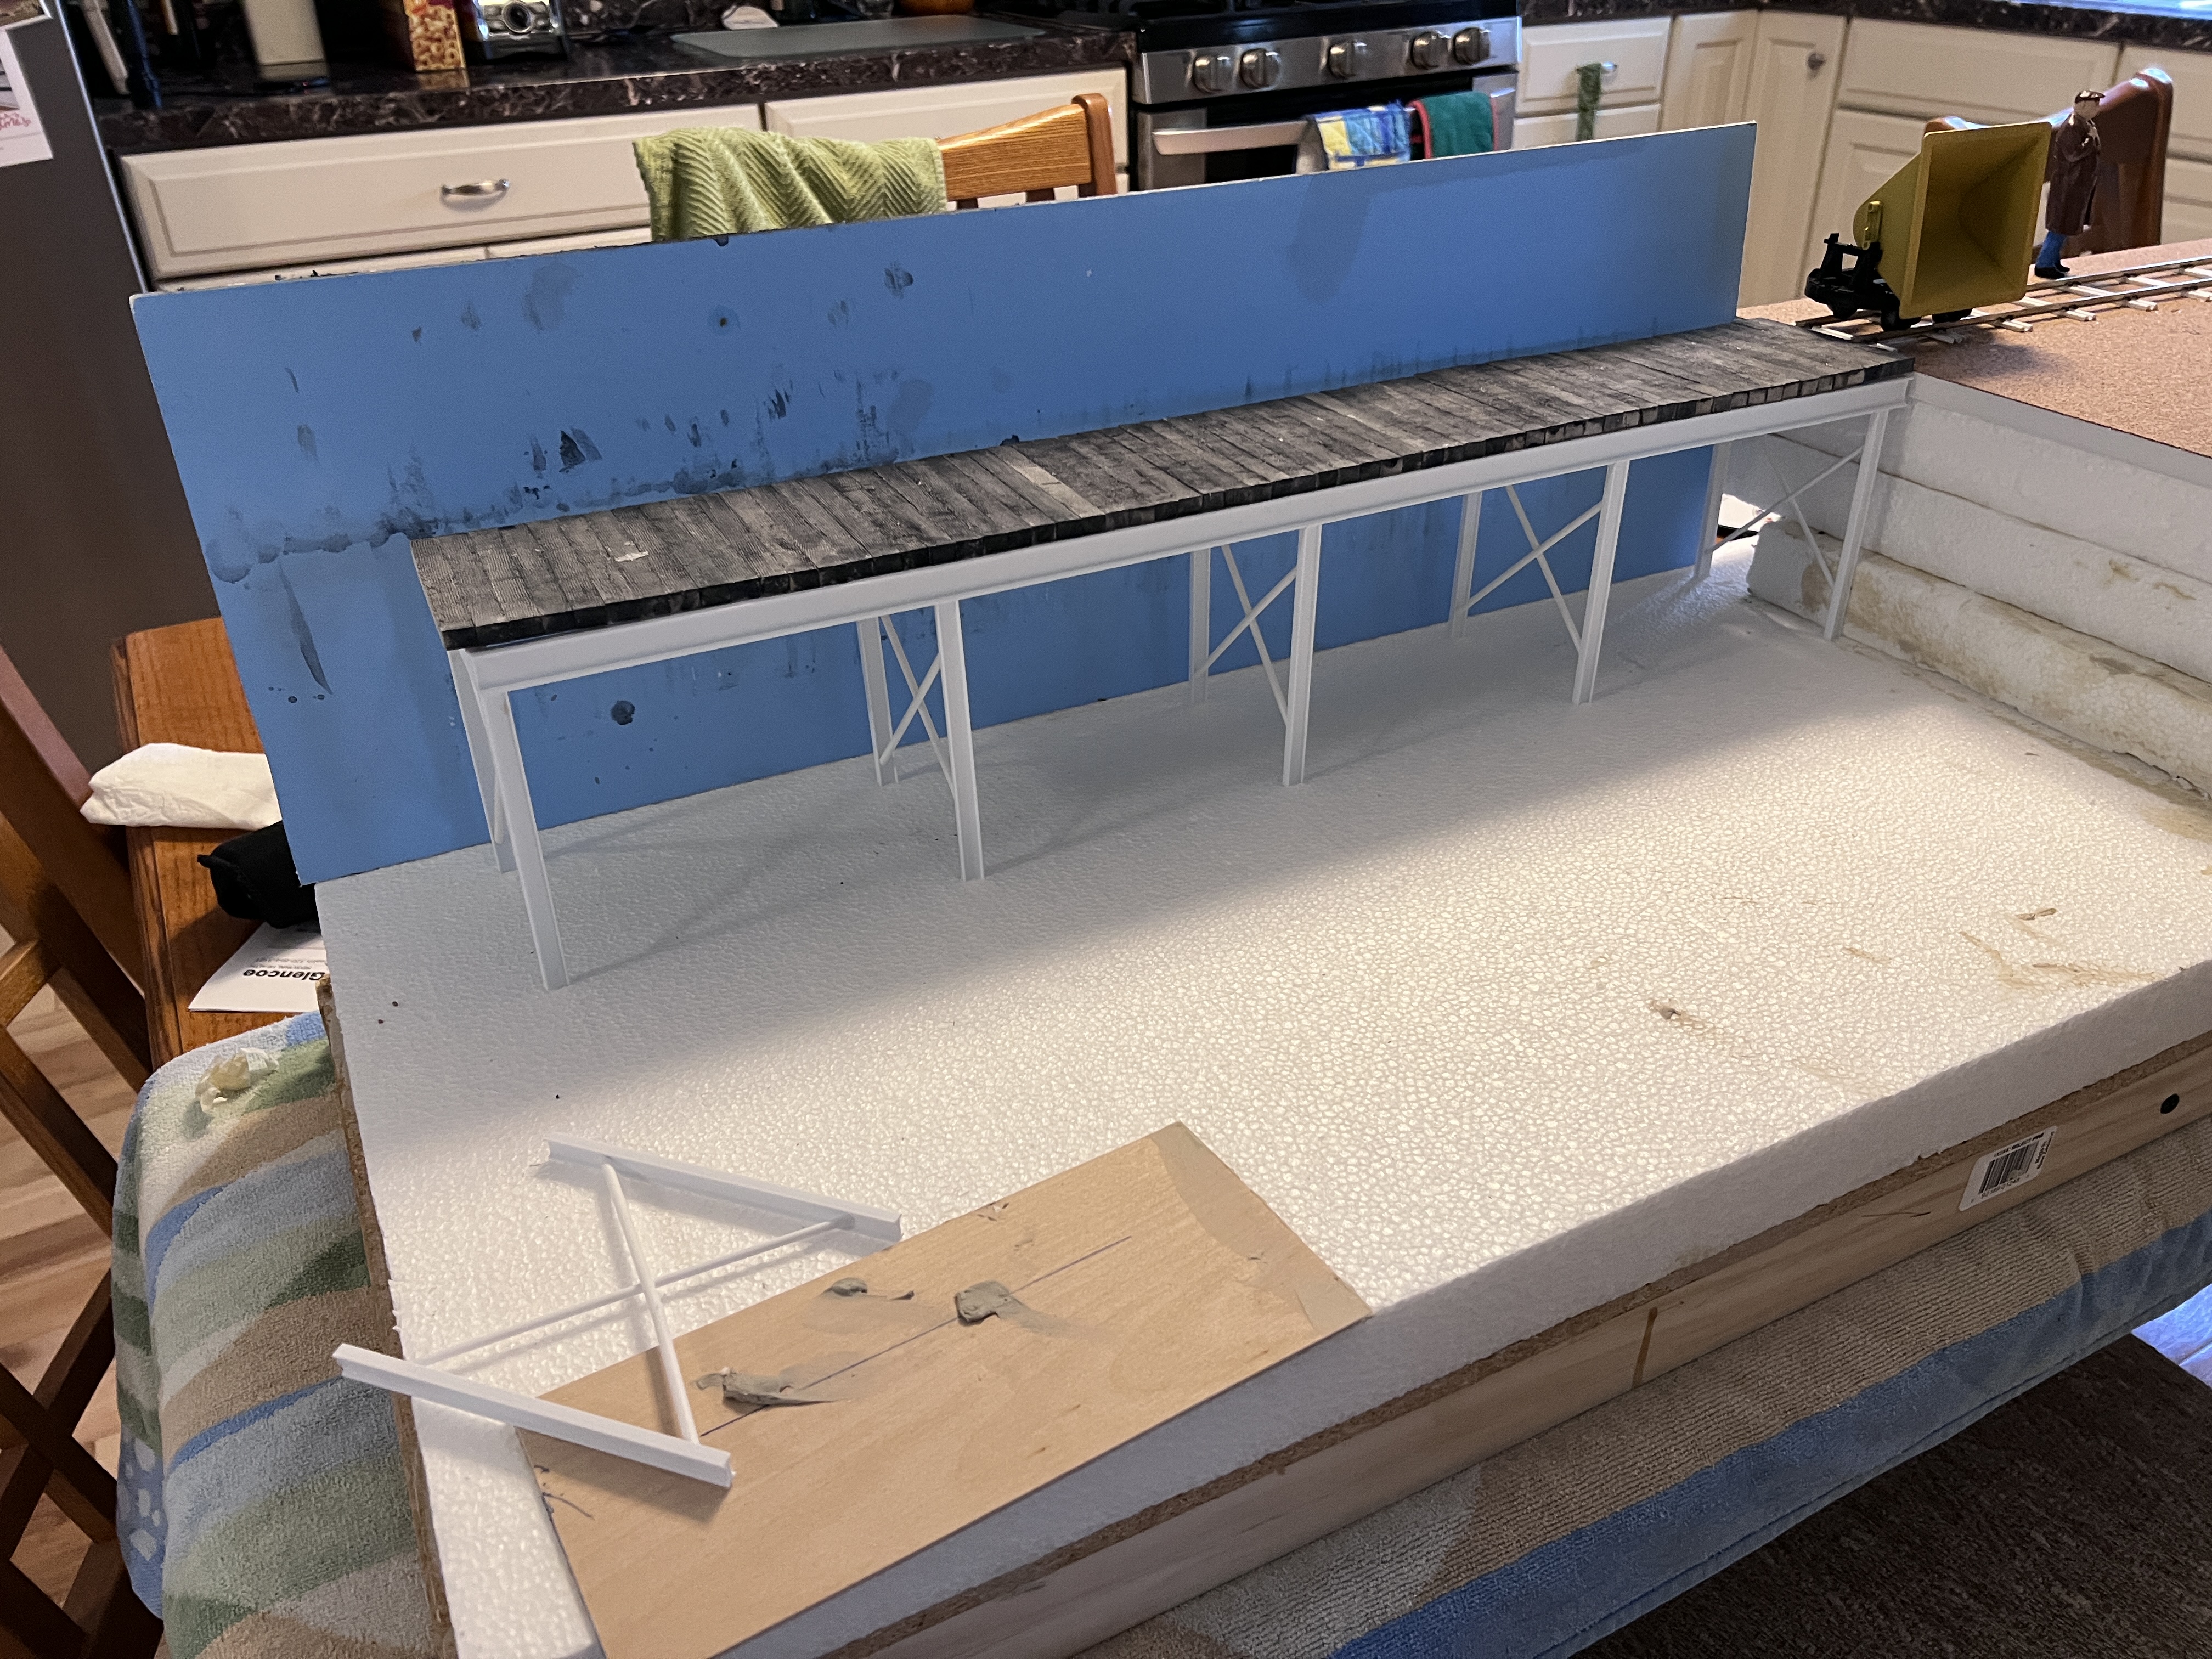
The first sector plate cassette has been built. It was made from 3mm aviation modellers plywood. On reflection this might be a little too thin and I’ll build the next one from something a bit thicker.
Plywood base and strip wood sleepers match the rail height on the layout perfectly
The cassette was painted grey fading into black to match the fiddle yard. 
This makes it less noticeable as you can see in the top picture..
The layout lighting is now in place. I had been very impressed with the LED strips that James Hilton uses on his projects. I bought some from Amazon. Sixteen feet in length complete with dimmer controller for $16. It is also self adhesive backed and comes with clips to fix it in place as well. I shall use those and add a few more of my own as I’m pretty certain that glue won’t stay stuck forever. A dollar a foot and I only used 10 feet. A bargain for sure. The lighting is very even. I like it a lot
First fitting of the LED strip
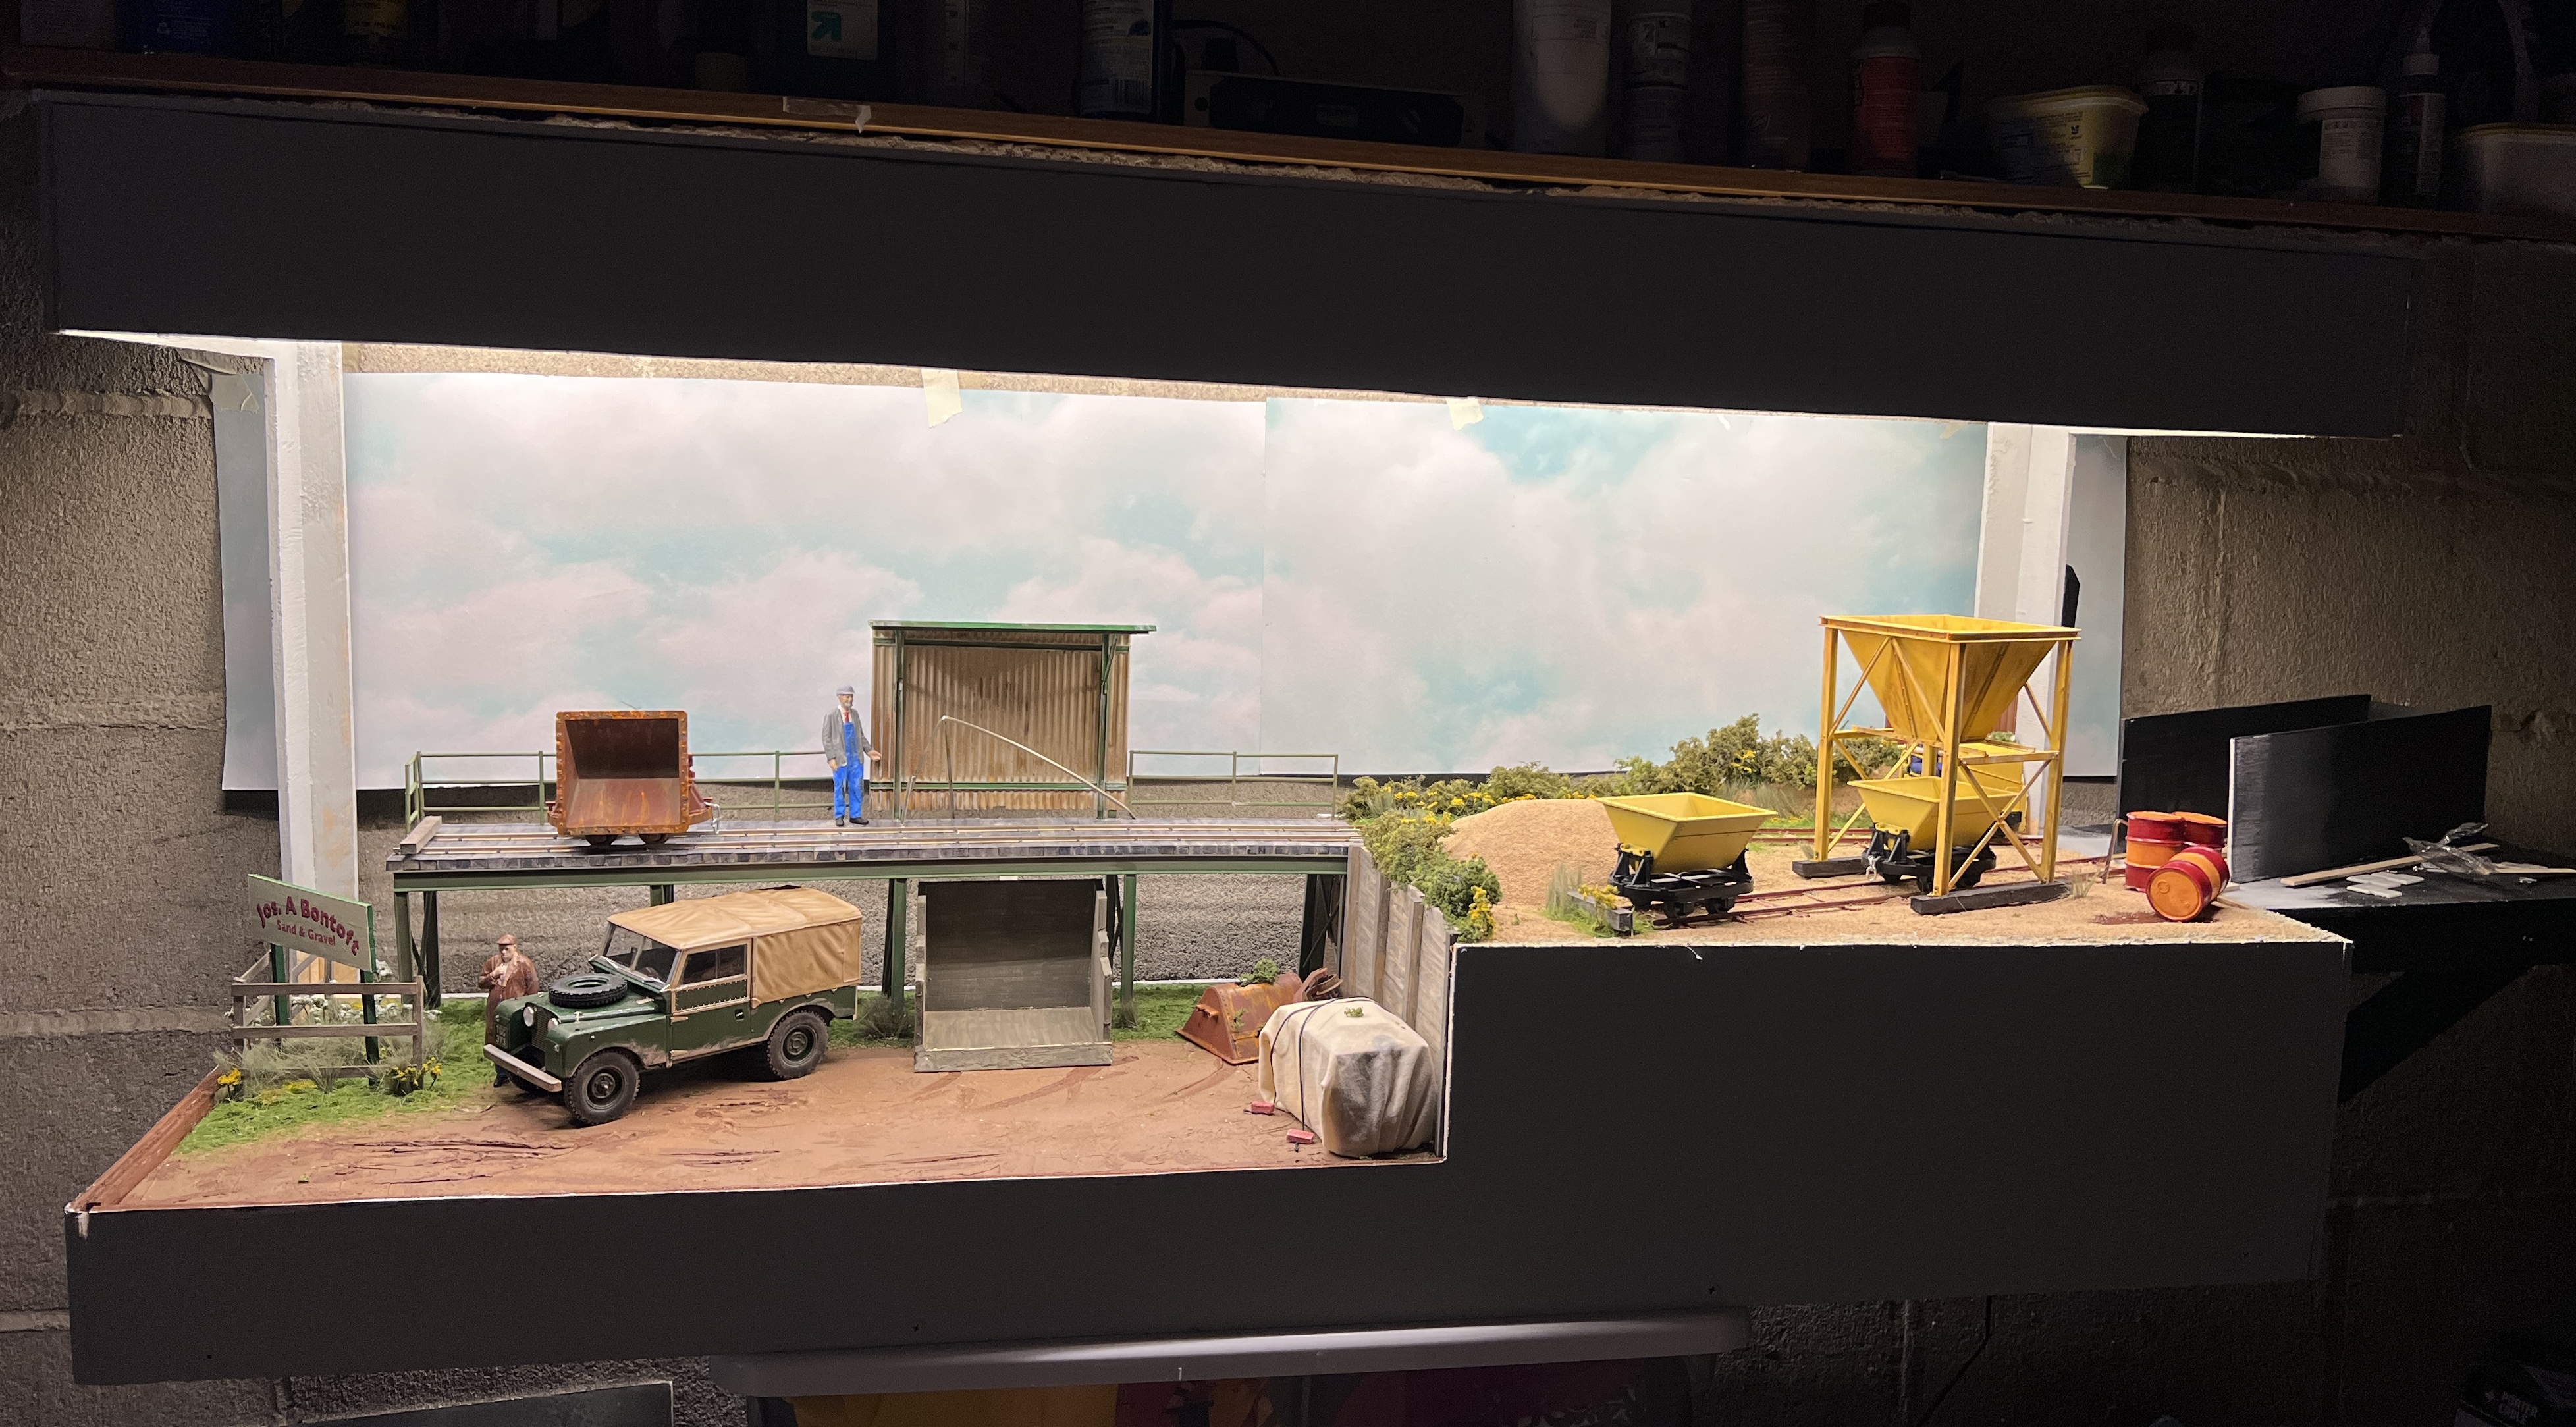
Hidden behind the barrels at exit offstage is the bumper to return the skip buckets to their correct position. Making this was much easier than the tipping rail. You can’t see it, which adds to the mystery.
You can’t see the tipper rail, can you? In other matters, health and safety will surely have something to say about the spillage there. 
There it is
A backscene is still needed, and though the cloud scene in the pictures looks pretty good. It actually has a greenish tinge that is quite unattractive to my eye. I might search out a better sky paper, or I might go for a plain neutral blue grey like the cabinet.
The final thing is to find a novel way to tip into the wagons at shows. Right now I just spoon a material into the skip buckets through the chute. It works. But a shows something more entertaining should be used. Something like this would be perfect. But at 1:16 scale it might be a tad too large for the area it needs to fit in. Perhaps it could be converted and adapted to fit the site in front of the sector plate.
Anyway we keep plodding along. Like any marathon I run, the finish is in sight.

.


Monday, September 25, 2023

Tipping Talk Three

 The cliffhanger from the last post was intentional…

Things had gone pretty well with the tipping part of the sequence. But I had paid absolutely no attention to what was going to happen after the bucket had been emptied. The way I had set the rail up, it was fouling against the frame of the skip chassis, derailing it, as I shoved it past the tipping point.
"No problem." I thought. It would just be some simple twisting and bending of the rail until it cleared the frame. But it wasn't as easy as that. As I twisted the rail in one angle, it changed the slope so that the rail didn't tip the bucket any more. Another twist and it tipped the bucket too early, another and it tipped too late. All very frustrating. Then even more frustrating, the rail fractured and broke as a result of all the twisting. It was at this point I took a break and published the previous post complete with abrupt cliff hanger, I was that frustrated.
After a couple of cups of tea and a few pieces of Kendal Mint Cake, I felt refreshed enough to try again.  It took quite a while to get it right, but I got there in the end. I was also much more careful with my bending and twisting of the rail.
The redesign progressed slowly
Much testing was done with the tipper to make sure it functioned OK and that there was enough clearance. In fact, I’m still testing it out daily.
Test runs look good as you can see, and yes I still have to add a bumper to return the buckets to their proper position. I haven't decided quite where that's going yet as I like to see a short train of skips in the tipped position wending their way down the layout. 
I’m gradually feeing better about all the work I’ve done and all the problems I’ve been through. A chute is still a likely addition to stop any overspill, as you just can’t trust how the material will tip into the bin. 
One little detail I’m quite pleased with is the addition of the figure at the tipping point. He looks like he’s about to operate a lever to actuate the tipping mechanism.
Terry the tipper man.
So there we are, it has taken the better part of three days to get this working well enough. The hobby is full of ups and downs and I’ve just had my fair share.


Sunday, September 24, 2023

Tipping Talk Two

 Over the past few weeks I have been giving thought to how the skips should be emptied. Should I do it manually, or should I attempt some kind of automagical system using an actuation rail to tip the buckets? 
I made a little “pusher” that would hide away at the base of the shelter. But it was something that would have to be moved out of the way whenever I needed to empty the sand bin underneath the tipper. 
The unremarkable, yet quite functional “pusher”
Besides, it was easy to make. Too easy. Considering that I have been challenging myself every step of the way in this project, I began to think that I should at least try to build an automatic system. I had watched Giles Favell’s automation videos on YouTube many times and studied his tipper videos in great depth working out how made his work and how I could translate that to my model . 
I could find no technical details out there on optimum ramp lengths and angle of the rail for tipping. So I winged it. I guess many people might be doing the same, as there were almost as many different systems as there was modellers producing them. I set about doing some thinking and measuring. It was clear that there were two important dimensions for the actuation rail.
The position the rail starts to tip the skip (A on this sketch), and the position when the skip is fully tipped (B). The tipping rail also had to be angled over the track to enable the skip bucket to tip fully. 
I found some code 83 rail and started bending. There’s no other way to describe it other than trial and error. I didn’t need a steep angle on the rail as that would have resulted in a quick “tip” I wanted something a bit slower. I think I was pretty lucky in getting something that I was happy with relatively easily. Perhaps I would not have persevered with it had I struggled. 
These pictures show how the rail worked during tests.


As I worked on the rail I decided it needed some bracing to hold it at the correct angle over the track, as it is not particularly stable. The overhang of the rail over the track makes it want to lean over. If I added a brace hooking over the deck that would add some rigidity. 
It’s an odd looking spidery thing
In location
After a little adjustment of the rail, the skip tipped directly into the centre of the bin, with no overspill
For a while there I was feeling really pleased with myself and then…

Tuesday, September 19, 2023

Revisiting my first layout.

If you cast your minds back, you will remember that there was a layout before the current one. 
Well, a few months ago now, I dropped a line to the editor of a certain appropriate model railway magazine, asking if they thought the layout would be worthy of inclusion in their pages. The reply cam, back affirmative So I spent a few hours this afternoon in the garage looking at the layout to find some good angles for pictures for the article. 
So here's a few test shots. The purpose of these is to check out the angles, See if they are worth exploring further.


Monday, September 18, 2023

Back in the saddle again

We are back from our holidays in England and Wales and suitably refreshed. I am chomping at the bit to get on with the layout. I know that it is very close to being “completed”. So I made a short list of things that need to be done. As you can see, it’s a pretty short list.
Things to do
The LED strip lighting has been ordered and will be here on Thursday. It’s one of those rolls of LED’s on a self adhesive strip from Amazon. So I’ll look forward to dealing with that next week. 
Something I could do that would really start to set things off would be to paint the display case. I’ve ummed and ah-ed about the colour of the case for ages. I knew I wanted a light neutral colour. I was thinking about a sandy tone. But in the end I went for a neutral blue-grey. “Shallow Skies” in the Valspar oeuvre. It’s a colour that I could carry on to a backdrop for something un-noticeable. 
The neighbors son works in the hardware store in town, so he mixed me up a quart of the stuff, and I ran off to the garage to slap the paint on. Bingo! In a few hours around lunch the case was transformed.
The case, painted.
That’s it really. I shan’t bore you with writings about painting, everyone knows how to paint. Instead I’ll finish off with a few holiday snaps…
The Goodwood Revival. The best historic motor racing in the world
My wife and I, and a Class 31
On the Ffestiniog Railway.
A second trip on the Ffestiniog, and another double Fairlie
The Jack Nelson LNWR dioramas
It’s good to be back.

Friday, September 1, 2023

A time for reflection

As I go away for two weeks, it’s time to reflect on the project again. Here’s a selection of photographs to show what I’ve created so far since day 1, Friday 14th July. It started out like this:
Friday 14th July: Day 1
Days cutting timbers for the deck
The first proper concept scribble. July 18th
The deck completed. July 18th
An accident. July 25th
Getting somewhere. July 30th
Weeds and grass. August 16th
September 1st and things look good. I get a real sense of achievement looking at the pictures. I think I’ve done something special.
Bontoft is my paternal grandmothers family name
See you in a couple of weeks.

Land Rover Weathering

This is it. This will be the last post for a couple of weeks as I head back home to the UK for my holidays, and after the success of my weathering of the loading chute. I decided to have a go at the Land Rover.
My MCG Series 1 Landy as bought, nice and clean.
I do have fond memories of Land Rovers. My father used to run around in one when I was a child. He was a mechanic at Seacroft Garage in Mablethorpe, my home town, and would go out in it on call outs to broken down cars. Occasionally, he would take my brother and I with him. We’d ride in the cab or the back. Great memories. So I like to feature Land Rovers on as many of my layouts as I can. 
In 1:18 scale Minichamps is the best model on the market and also the most expensive. So I settled on the MCG version. Less detailed, but more reasonably priced, suitable for model railway scenery. 
The first thing to do, as with all my other pieces was to kill the model feel with Asphaltum.
Nice and clean before the job starts
After a scrub all over with Asphaltum the clean model feel is gone
Even if I was to just kill the plastic and metal I’d be happy. But Landys get muddy, so some splashes of mud are called for. It didn’t take much to create something that I’d be happy to place on the layout.
Mud around the wheel arches
Right now, it looks good enough to me.
As I’ve said before, weathering is subjective. Some people would want to cake a Land Rover in mud. Others would be happy with minimal road grime. I’m somewhere between the two. Perhaps I’ll add more later. But right now. That’s perfectly OK for me.


*Fy Merlen Bach*

Winter is coming…The phrase that spawned hundreds of cringeworthy internet memes. To me it means that any model making I do will be confined...