Showing posts with label sector plate. Show all posts

Friday, September 29, 2023

95%

Not much left to do

Is the layout 95% complete? 99% perhaps? I don’t know. All I know is that there’s pretty not much left to do. I sit in front of the layout and loose myself in it. Trains running or not. 
As you know, in the past few days, I was very frustrated with the tipper actuation rail. So I worked on other things to take my mind off it.
The first sector plate cassette has been built. It was made from 3mm aviation modellers plywood. On reflection this might be a little too thin and I’ll build the next one from something a bit thicker.
Plywood base and strip wood sleepers match the rail height on the layout perfectly
The cassette was painted grey fading into black to match the fiddle yard. 
This makes it less noticeable as you can see in the top picture..
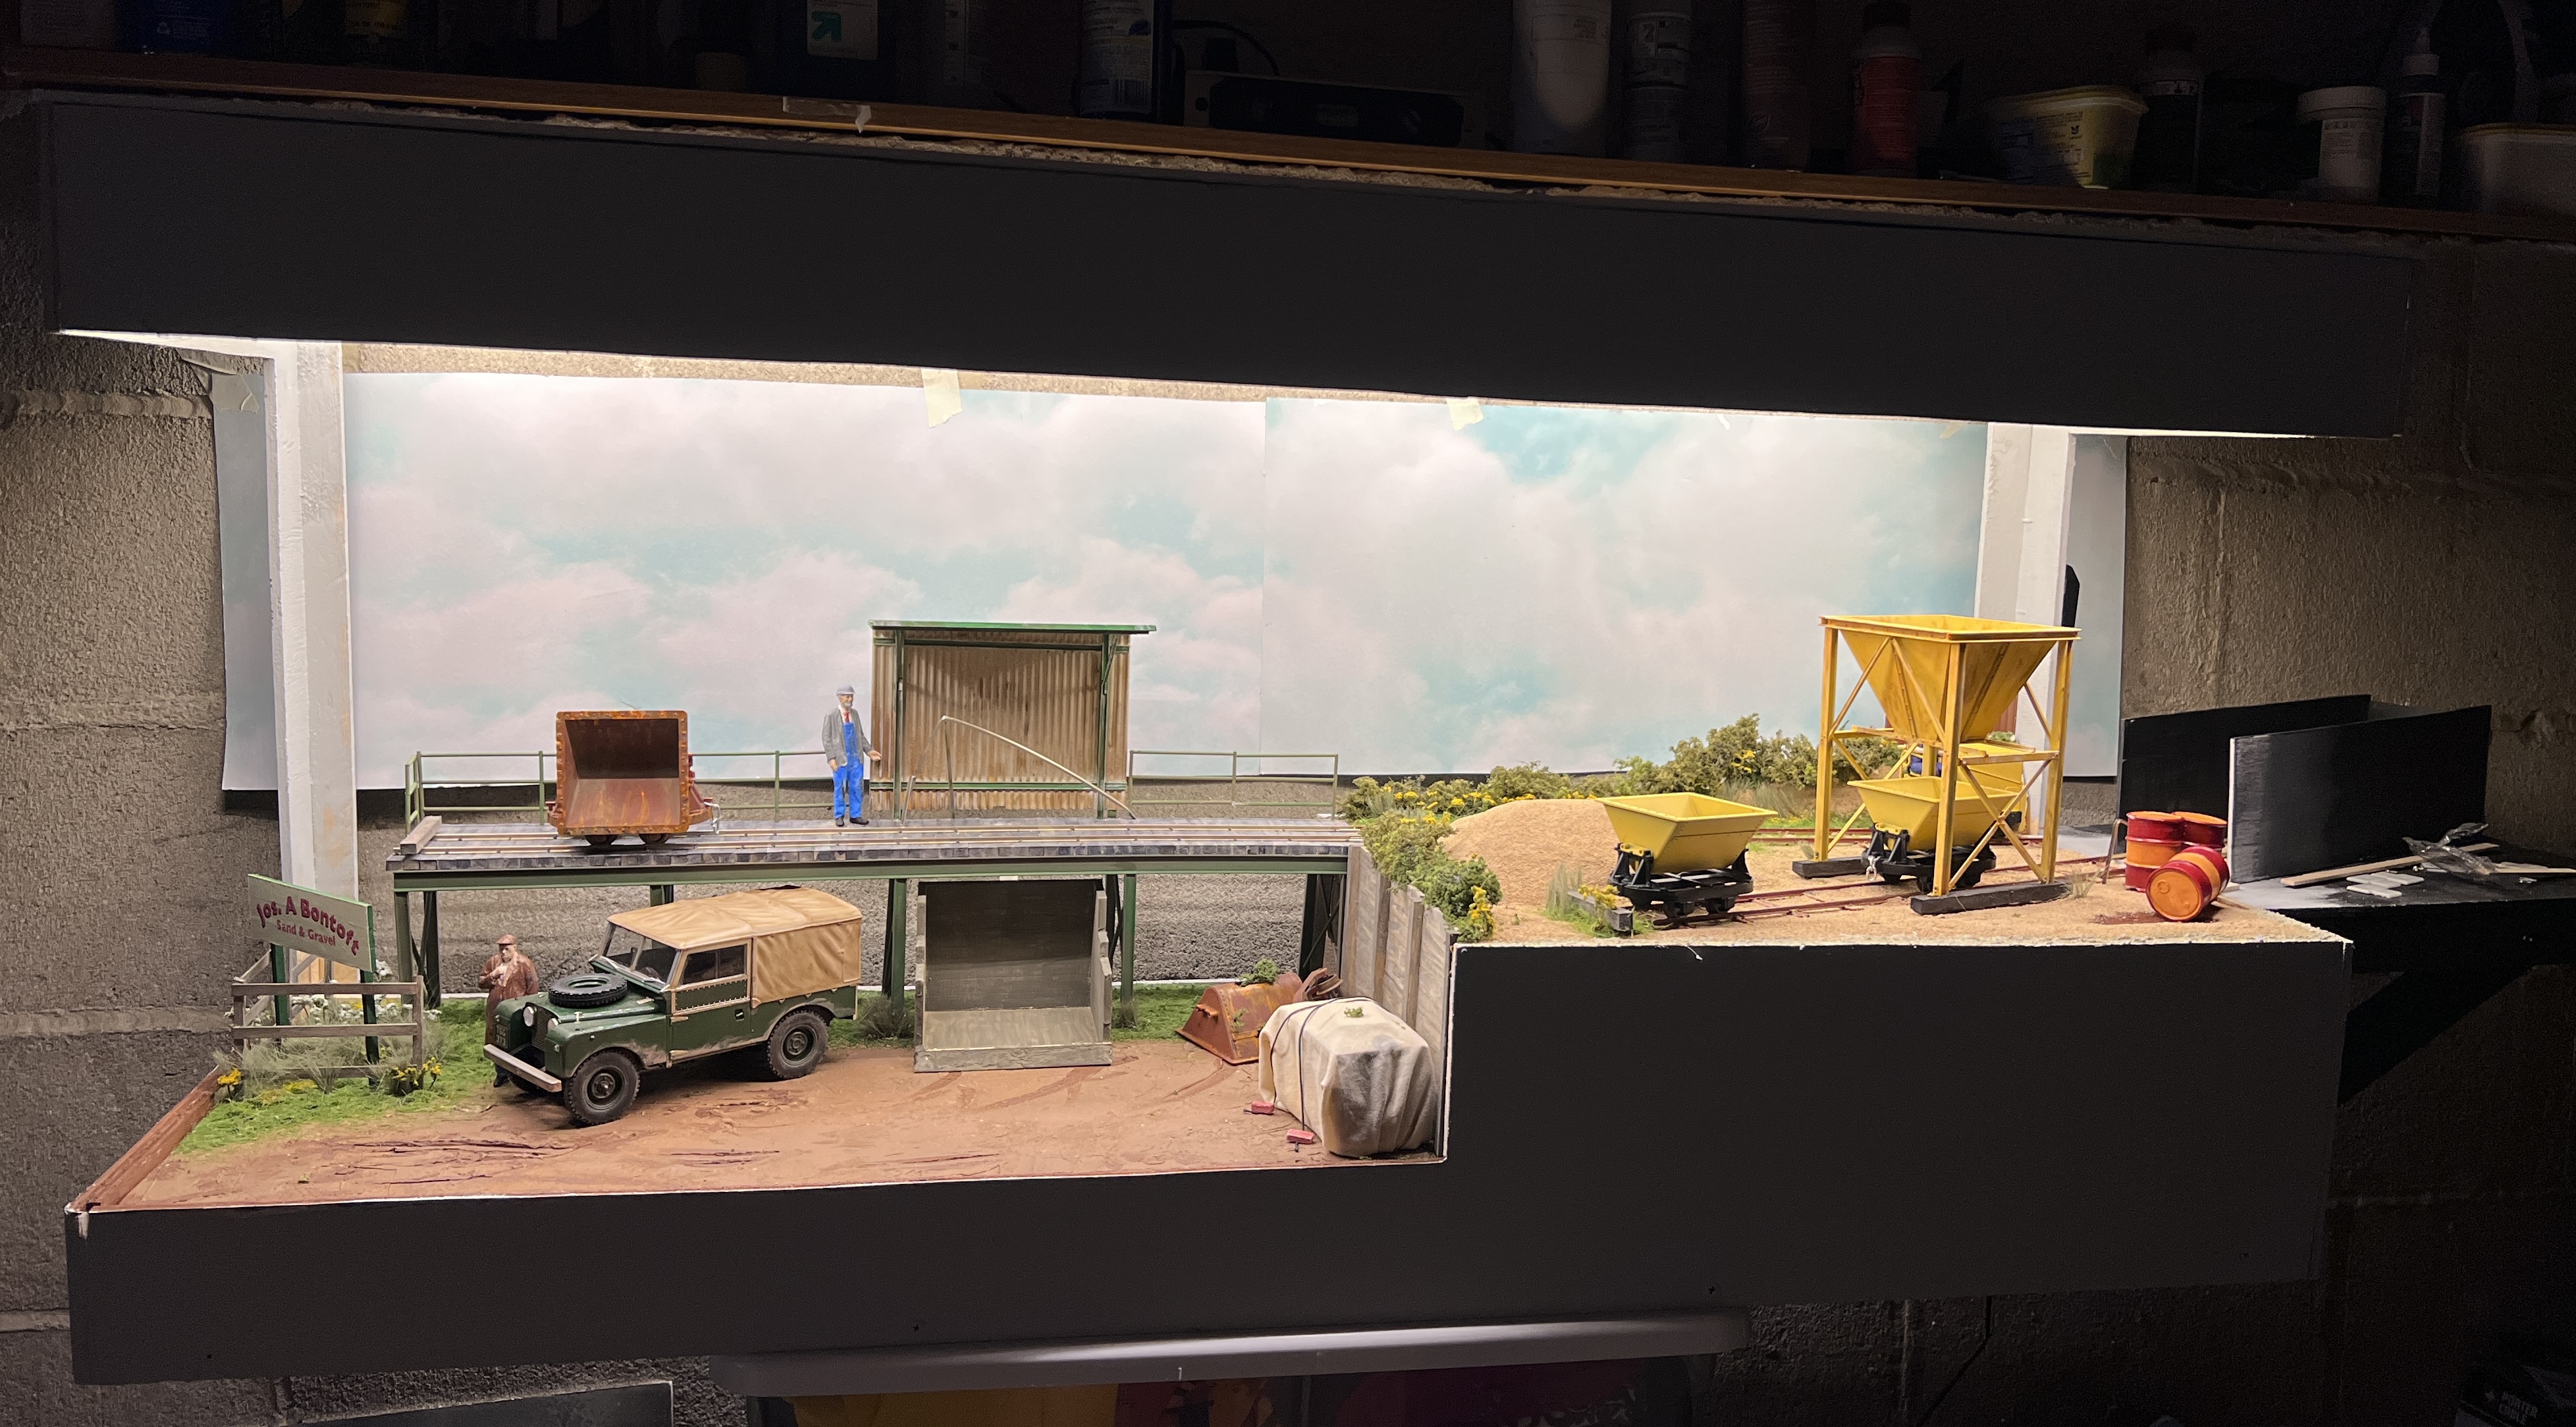
The layout lighting is now in place. I had been very impressed with the LED strips that James Hilton uses on his projects. I bought some from Amazon. Sixteen feet in length complete with dimmer controller for $16. It is also self adhesive backed and comes with clips to fix it in place as well. I shall use those and add a few more of my own as I’m pretty certain that glue won’t stay stuck forever. A dollar a foot and I only used 10 feet. A bargain for sure. The lighting is very even. I like it a lot
First fitting of the LED strip
Hidden behind the barrels at exit offstage is the bumper to return the skip buckets to their correct position. Making this was much easier than the tipping rail. You can’t see it, which adds to the mystery.
You can’t see the tipper rail, can you? In other matters, health and safety will surely have something to say about the spillage there. 
There it is
A backscene is still needed, and though the cloud scene in the pictures looks pretty good. It actually has a greenish tinge that is quite unattractive to my eye. I might search out a better sky paper, or I might go for a plain neutral blue grey like the cabinet.
The final thing is to find a novel way to tip into the wagons at shows. Right now I just spoon a material into the skip buckets through the chute. It works. But a shows something more entertaining should be used. Something like this would be perfect. But at 1:16 scale it might be a tad too large for the area it needs to fit in. Perhaps it could be converted and adapted to fit the site in front of the sector plate.
Anyway we keep plodding along. Like any marathon I run, the finish is in sight.

.


Tuesday, August 22, 2023

Traversing

 I’m officially stopping counting the days of construction now. The layout is now at a state of completion where it could go to a show as it is, or with minimal extra work done. Besides, I’ve seen layouts at shows in worse state of completion. So I’m happy with no more counting. We’ll call it 30 days and be done with it. 
I’ve had a couple of questions asked about the construction of the sector plate/train storage. As this is still a work in progress towards a finalized design, the details of the cassette are still under consideration. But, as the most important part of the sector plate is lining up the roads correctly. I can at least offer some views based on my experiences with that.
1. The single most important thing in marking a sector plate is finding the pivot point. That way the track centers line up, and the curved end of the sector plate can swing and not foul anything on the layout, (been there, done that).
It also goes without saying that if you have a curve going into a sector plate you’re probably making unnecessary trouble for yourself. Much like having flexible track joins on curves.
The tracks on my layout are dead straight, so it’s pretty easy to run a ruler along the inside edge of the rail and trace it back on the deck of the baseboard as in this top picture.
2. You draw lines from both sets rails back on the baseboard. Find the middle of them, draw those lines back, and where the track center lines intersect. That’s the pivot point. You should also try to draw as few lines as possible doing is. As you can see I drew plenty of lines, and mis-marked the centre. Which I didn’t discover until I tried to make the deck of the sector plate. 
3. Make a template for the sector plate deck. Decide what size it’s going to be. Cut some material or other (I’ve used foamcore) and mark a curve based on the radius you want from the pivot point. I went for 12” (305mm) on mine, working with the layouts T.L.U. (Train length unit). You might, like I did, have to mark the curve on both the layout and the sector plate deck. I trimmed the edge of the layout to the curve and then the sector plate deck template to the same. It should match pretty perfectly. Now the real test. Pin the sector plate deck though the pivot point. If you’ve done this right, the sector plate should swing perfectly across the baseboard edge. This was where I found out that I had drawn too many lines and marked the wrong pivot point.

4. & 5. The moment I realized I had the wrong pivot point marked. In the top photo everything lines up perfectly. The bottom one leaves a HUGE gap. So it was back to step 1. Re-mark the track lines and centers and carefully mark the new pivot point. This did necessitate a slight trim of the scenery but not much.

6. & 7. Now you can see that everything lines up perfectly. The curved faces of the sector plate and the baseboard meet perfectly. All I have to do is trim the rails back.

8. & 9. Look along the track and you should be able to make out that the rails and the lines of the track on the sector plate deck line up, and the perspective continues seamlessly.  
If you’re feeling brave there’s one last thing you can do to prove that everything is aligned perfectly. Line the deck up with the tracks on the layout. Put the pivot pin (I was using a T-pin) into its hole on the deck and it should drop straight into the pivot point hole on the baseboard. 
There, that’s how I did it. I hope that wasn’t too “how-I-blew-my-nose” for you. But I did go through multiple steps to make sure I did align things correctly.
Now I can finalize the design of the cassettes. They will probably be made from 3/16” (5mm-ish) ply. The pivot and hole will be a bit larger than T-pin size though. 
Finally, for those who are concerned about the cutting away of the baseboard surface to get the curved faces to align. This will be what you can see on the layout. 
If anyone has concerns about sector plates, I hope this eases your fears. I did over complicate things with mine, I thought I had such a good idea, overlapping the sector plate onto the baseboard to help with baseboard join alignment. But perhaps not, I got there without too much problem in the end though. 
I’ll see you another day.


*Fy Merlen Bach*

Winter is coming…The phrase that spawned hundreds of cringeworthy internet memes. To me it means that any model making I do will be confined...